Showing posts with label photo editing. Show all posts

Magnolia Market Cotton

Magnolia Market Cotton

I was so excited to open up a big box from Magnolia Market on Christmas morning! I have been a Fixer Upper fan for years and this was just as good as finding my Rainbow Care Bear under the Christmas tree when I was a little girl. The great big box was filled these beautiful cotton stems, a subscription to their new magazine The Magnolia Journal, and few other surprises I'll be creating with too! 


As any Midwestern knows winter light is quite sparing and quite blue. Hmm... I wonder if that's why is called "The Winter Blues"? Anyhow, I loved these cotton stems in my cream and white ceramic pitchers, so I simply had to save these still life shots. Check out my Before and After below to see what a difference a light texture on a brightening blending mode can do! Then share your texture natural or enhanced in this week's Texture Twist.


Before and After Photoshop Tutorial

Dust Cloud Texture / Soft Light Blending Mode / 35% Opacity

Add a Layer Mask and brush texture away from subject with a soft brush at 70% opacity


Magnolia Market Cotton

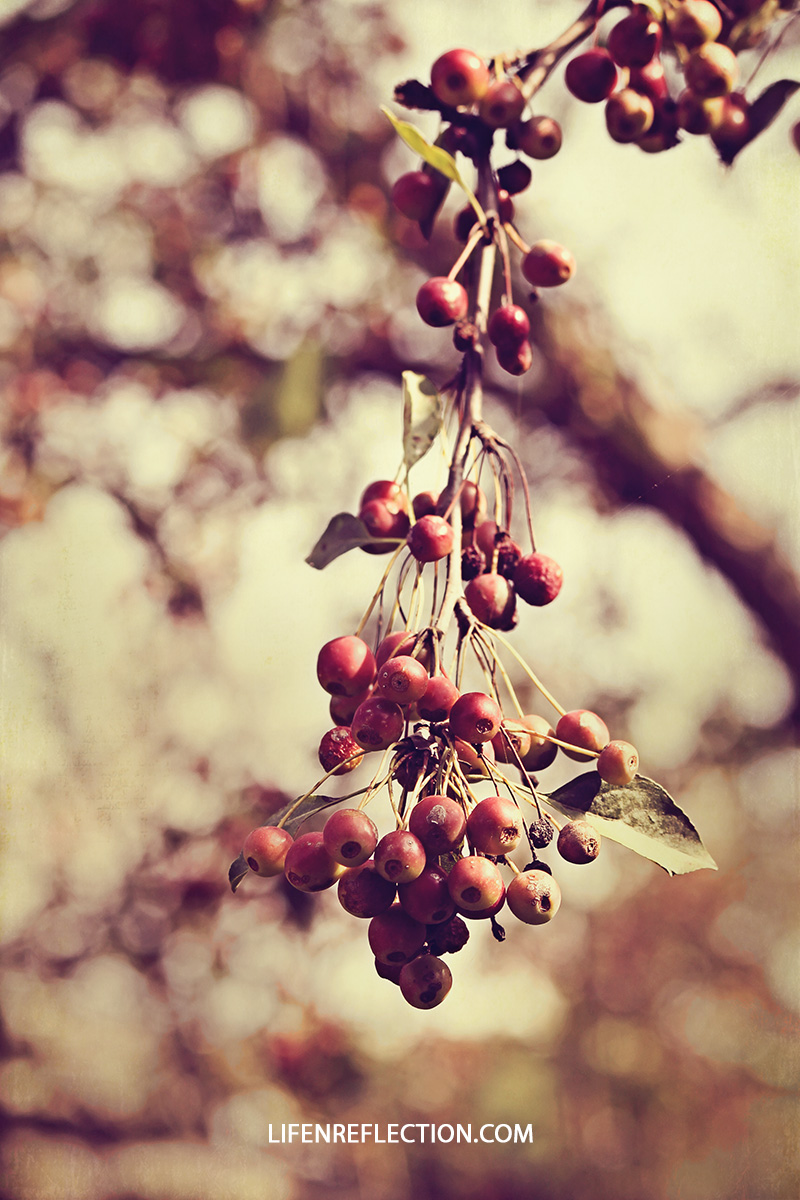
Texture Twist: Winter Berry


I savor my photography walks at our local botanical gardens. Especially this time of year, as we await winter snow. A few berries and seed pods will hang on through the long winter. The rest is blank landscape slumbering until spring.


Photoshop Tutorial

Cremebrulee Overlay #1 / Darker Color / 15%

Duplicate the overlay / Overlay / 25%


The Texture Twist Photo Challenge

Scroll down to link up your photos with a Texture Twist
- natural or enhanced


Texture Twist: November Woodlands


Each season brings beauty to the woodlands surrounding our home. In Autumn the treetops dazzle in the sunlight with golden and crimson leaves. Each leaf falls to the woodland floor as if has a story to tell of success at last, similar to that of graduation. The Autumn sunsets are more bright and beautiful as the days inches closer to winter, encouraging thoughts of gratitude. What has caught your eye this season? 


Photoshop Tutorial

Cremebrulee Overlay #1 / Darker Color / 15%

Duplicate the overlay / Overlay / 25%


The Texture Twist Photo Challenge

Scroll down to link up your photos with a Texture Twist
- natural or enhanced


Fall Farmers Market: Photoshop Before and After


Farmers markets in the Fall bewitch me! I could stare into a buckets of crisp apples or curvy squash long enough to make any farmer nervous. Piles of pumpkins and dried sunflower heads call out to me. Luckily I always bring at least two cameras along, so I can savor their enchanted. 


Reduce harsh sunlight and apply a vintage photo finish with texture.

Before and After Photoshop Tutorial:

Apply an Exposure layer adjustment to reduce the exposure
Antique Warm Texture / Multiply Blending Mode / 20%


The Texture Twist Photo Challenge

Scroll down to link up your photos with a Texture Twist
- natural or enhanced


10 Ways to Improve Your Food Photography


Who hasn't been dazzled by the latest trend - foodie photography? Are you ready to join the band wagon and improve your captures of your best dishes? Jump right on with my quick guide below! *This post contains affiliate links at no extra cost to you.

#1 Know Your Camera
Start improving your food photography using the camera you have instead of rushing out to buy a big better camera with no guarantee you’ll get better shots! Just about any entry level DSLR will work for food photography.  Learning to use your camera’s mode settings is one the easiest way to get better a shot. Add a wee bit of ISO, shutter speed, and aperture knowledge and the cat is in the bag!

Download my pack of Photography Sheet Cheats to brush up on ISO, shutter speed, and aperture.

      #2 Light the Way


      Great lighting is key to great food photography. On camera flash is a big No-No, keep your flash off. Use natural light whenever possible. I recommend calling dibs on a space in your home that receives natural light for most of the day. If the light is too bright diffuse it with a lightweight fabric shade or curtain.  If there is not enough light use a bouncer or white foam board to bounce light back on your subject.


      Save

      #3  The Variety Show


      One of the quickest and easiest ways to improve your food photography is shooting on a variety of backgrounds. Start with something as simple as a white or black foam board. Then add wood planks, wood paneling, contact paper, kraft wrapping paper, flour sack towels, or pro vinyl photography backgrounds to your collection.

      Keep in mind you’ll want to select one background for each recipe you are photographing. Now, you can certainly take a few shots on different backgrounds to see what looks best. But, I do not recommended using multiple backgrounds in a single article.

      #4 Start with a Good Angle


      Anyone in advertising knows every product has good angle. You just have to find it first! Shoot straight on, eye to eye, from the side, closeup, or from above. I recommend photographing your food dish in at least two angles to give you more options when selecting photographs for an article. 


      #5 Prop It Like You Mean It


      Why go to all the hard work of cooking an incredible dish to just photograph it on your kitchen table? Layering your shot with props is great method to showcase your dish. Checkout my list of favorite props:

      • Linen towels
      • Measuring spoons
      • Spices
      • Vintage muffin pans
      • Cake pedestals
      • Wooden spoons
      • Flour sifter
      • Vintage saucers
      • Cutting boards
      • Metal cooling racks

      #6 Get Your Move On


      You may notice some of the food photography photos you're most drawn to have a hint of movement. Movement can difficult to capture unless you are working with a tripod and a remote shutter or a partner in crime. Short on both? Then sprinkle sugar or spices around your subject, unfold that napkin or kitchen towel, or drop fresh foods or florals right onto your background. In case you haven’t gotten the hint - GET MESSY to CREATE MOVEMENT!

      #7 Tell a Story


      Now, that you have a variety of angles, backgrounds, and props. Use the best possible lighting and movement to tell a story within the frame. Pull in fresh fruits or veggies, spices, utensils, and mixing bowls used to make your recipe. Will it be dark and moody or bright and cheerful. It’s your story, so tell it!

      #8 Be Inspired


      Are you feeling apprehensive about styling food photography? Get inspired with resources like Pinterest, Instagram, Foodgawker, and Tastespotting. You can even search for keywords like; farm to table, dark moody food photography, or even the title of the recipe you're whipping on.

      #9 Take it to the Next Level


      Post processing your shots can correct slight color casts, brighten things up, boost contrast, and even blur the background; in case you didn’t shoot in aperture priority and now you want that look! Use Adobe Photoshop or your favorite free photo editing software to step it up.

      #10 Practice Makes Best


      Has anyone ever told you can’t play in the game if you miss practice? Well… Just keeping practicing. Try different backgrounds, props, and light sources until you begin to see the result you are looking for.


      Share your projects too: Create Link Inspire / Made by You Mon / Project Inspired / Creative Gallery / Wow Me Wed/ Homesteader  / A Little Bird Told Me /   Inspirational Gallery /  I'm Lovin' It / Party Palooza

      The Country: On the Outskirts


      I discovered this weathered American beauty on road trip. It was just on the outskirts of rural town near border of Illinois and Missouri. Half way hidden by corn stalks yet a contrast to the bright blue skies. Try the Photoshop tutorial below to boost contrast and depth in your next landscape photograph.


      Photoshop Tutorial:

      Aging Estates Texture / Soft Light Blending Mode / 50%
      Buttercup Overlay #4 / Color Burn Blending Mode / 40%


      The Texture Twist Photo Challenge

      Scroll down to link up your photos with a Texture Twist
      - natural or enhanced


      The Country: Tattered Bones


      This relic is tucked away and most often unseen. I spotted a glimpse of after visiting a local farmer's market. I had to drive back with my camera gear the weekend after. The exposed bones of the barn make it quite intriguing. There is corn planted in front barn, making it a bit difficult to get to. I didn't venture inside since it isn't likely very stable. Although, I certainly wanted too. 


      Photoshop Tutorial:

      Creme Brulee Overlay #4 / Overlay Blending Mode / 45%
      Sunrise Clouds #1 /  Darker Color Blending Mode / 75%

      Join me on Instagram and Share your Photo Stories:  Image-in-ing / Seasons / Our World Tues  Communal Global / Life Thru the Lens /  Through My Lens /  Photo Journal / Photo Friday / Today’s Flowers

      The Texture Twist Photo Challenge

      Scroll down to link up your photos with a Texture Twist
      - natural or enhanced